PHOTO BOOTH CUSTOMIZATION
THREE SIMPLE STEPS
From inspiration to a print-ready design.
You do not need to choose every detail now. Pick the closest layout, and we will help refine it for your event.
01
Choose a print format
Select a classic 2×6 photo strip, a full 4×6 print, or a one-photo layout.
02
Pick a starting style
Note the template number you like. Colors, names, dates, and wording can all be personalized.
03
Send your event details
Email the template number, exact wording, event date, colors, and any logo or invitation reference.
RECOMMENDED
Design a custom template with ChatGPT.
Our production-ready prompt asks five clear questions, then guides ChatGPT through the correct print size, safe margins, two-strip seam, and final deliverables.
1. Copy the prompt and open ChatGPT.
2. Paste it, send it, and answer the five questions.
3. Email the finished PNG files to info@peakabooth.com.
Your print-ready design prompt
The prompt includes 2×6 and 4×6 dimensions, 300 DPI guidance, cut tolerance, and a separate proof with cut lines.
View or copy the prompt manually
Please help me create a professional, print-ready photo booth template. Before designing anything, ask me these five questions in one short, easy-to-answer message:

1. FORMAT
Would you like:
- Two identical 2×6-inch photo strips printed side by side on one 4×6 sheet, or
- One full 4×6-inch design?

2. EVENT STYLE
What type of event is this, what is the theme, and what colors should be used?
Would you like the design to feel:
- Simple and elegant
- Moderately decorated
- Bold and detailed

3. WORDING
What exact wording should appear?
Examples include the event title, names, date, hashtag, or a short message.
“None” is also an option.

4. PHOTOS
How many photos would you like, and what shape should they be?
The recommended layout is three photos:
- Square photos in a 1:1 ratio, or
- Horizontal photos in a 3:2 ratio
Also ask whether the finished photos will be color or black-and-white.

5. REFERENCES
Do you have a logo, invitation, color palette, or inspiration image to upload?
Is there anything you definitely do not want in the design?

Do not ask additional questions unless something essential is missing.
If I am unsure, recommend three photos and a simple-to-moderate design.

After I answer, create the template using the following production requirements:

PRINT SIZE
- 2×6 strip: 600×1800 pixels at 300 DPI.
- Two-up 2×6 print: 1200×1800 pixels at 300 DPI, containing two identical strips.
- Full 4×6 design: 1200×1800 pixels at 300 DPI.
- Final files should be high-resolution PNGs.

CUT-SAFETY REQUIREMENTS
- Assume the printer and cutter may shift horizontally.
- Keep photographs, names, dates, logos, faces, and other important content at least 0.15 inches—or 45 pixels—away from every cut edge.
- Keep at least 45 pixels of safe space on both sides of the center cut at x=600 on a two-strip 4×6 print.
- Do not allow photos or important artwork to bleed into the neighboring strip.
- Do not place thin borders or contrasting lines directly against a cut edge.
- Extend the background color or background texture completely to the edges.

SEAMLESS TWO-STRIP DESIGN
For a 2×6 strip, make the left and right edge backgrounds match exactly so a small cutting error is not noticeable.
Any decoration that reaches a side edge must repeat or mirror seamlessly:
- The left and right sides should have matching colors and visual weight.
- If an object touches an edge, use matching halves so the copies form one intentional object when placed beside each other.
- Do not place a unique decoration on only one side.
- Keep the side margins consistent throughout the entire strip.
- Make sure no portion of a photograph can appear on the neighboring strip if the cutter shifts.

DELIVERABLES
Please provide:
1. The finished individual template.
2. For a 2×6 design, a print-ready 4×6 sheet containing two identical strips.
3. A separate two-strip preview with the center cut line marked.
4. A cut-tolerance preview showing how the design looks if the cut shifts approximately 15 pixels left or right.
5. Final files without guides or cut lines.

Before generating the final design, briefly summarize the selected theme, colors, wording, photo layout, and print size.
Use all names, dates, and event wording exactly as supplied.
Check the spelling carefully.
22 STARTING POINTS
Find the layout that fits your event.
These samples show the photo arrangement and overall style. We can update the colors, event wording, date, logos, and decorative details.
2×6 photo strips
4×6 prints
One-photo layouts

Template 01
4×6 Print
Vertical • 3 photos

Template 02
2×6 Strip
Horizontal • 3 photos

Template 03
2×6 Strip
Square • 3 photos
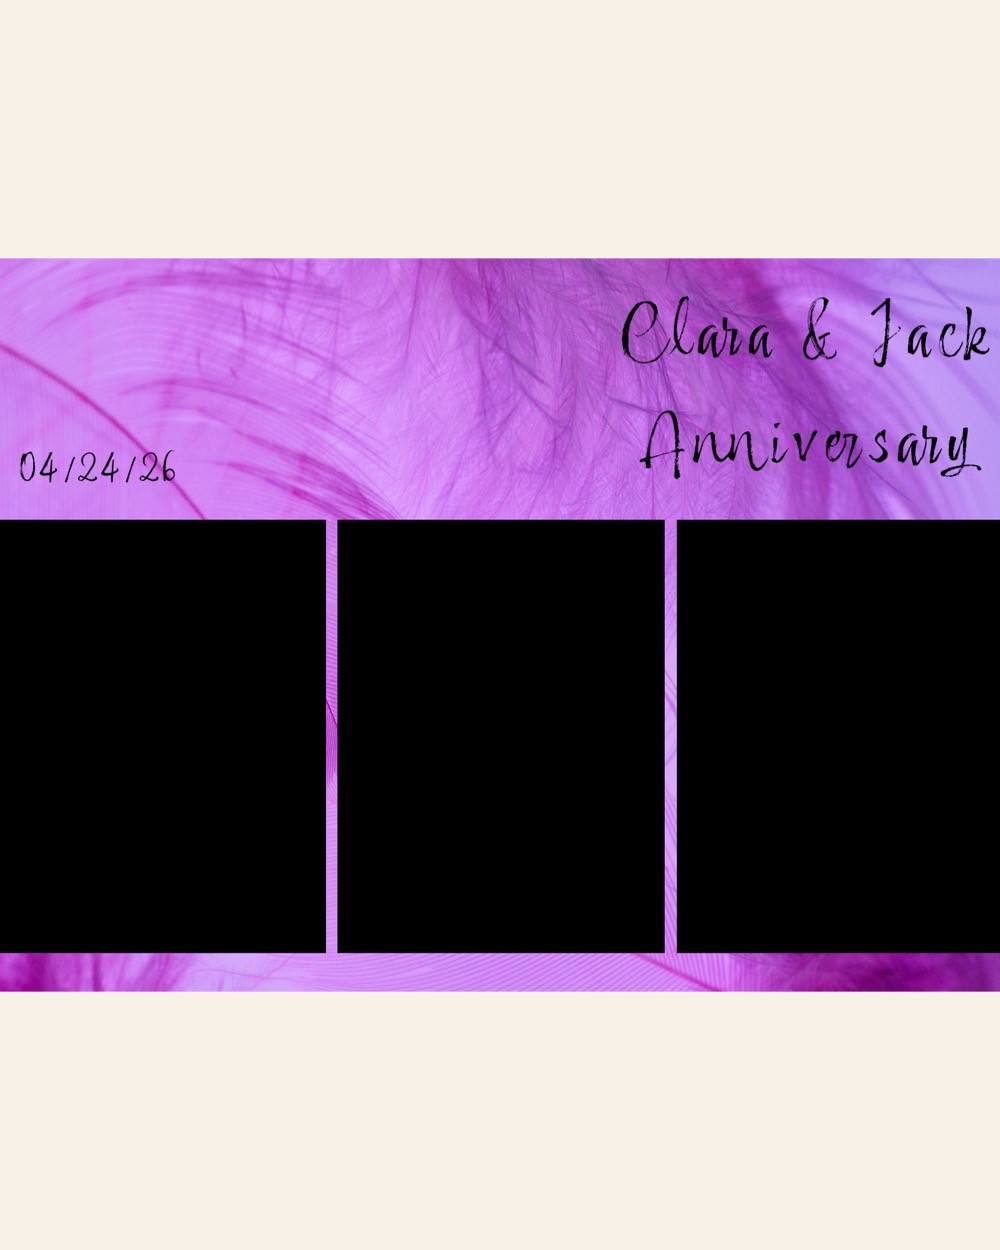
Template 04
4×6 Print
Vertical • 3 photos

Template 05
4×6 Print
Square • 4 photos

Template 06
2×6 Strip
Horizontal • 3 photos

Template 07
4×6 Print
Landscape • 3 photos

Template 08
2×6 Strip
Vertical • 3 photos

Template 09
4×6 Print
Square • 3 photos

Template 10
2×6 Strip
Horizontal • 3 photos

Template 11
4×6 Print
Square • 4 photos

Template 12
4×6 Print
Vertical • 3 photos

Template 13
2×6 Strip
Square • 3 photos

Template 14
4×6 Print
Landscape • 3 photos

Template 15
2×6 Strip
Vertical • 3 photos

Template 16
Full Photo
Full-frame • 1 photo

Template 17
4×6 Print
Vertical • 3 photos

Template 18
4×6 Print
Square • 4 photos

Template 19
4×6 Print
Square • 3 photos

Template 20
4×6 Print
Vertical • 4 photos

Template 21
2×6 Strip
Horizontal • 3 photos

Template 22
2×6 Strip
Square • 3 photos
READY FOR THE NEXT STEP?
Finalize your print design in about two minutes.
Choose the format and template, add your wording and colors, and include a share link for any logo or inspiration file. We will review everything and send a proof before your event.
Complete the selection form
Questions about the booth itself? Visit the Photo Booth service page or check availability for your date.
PHOTO BOOTH SELECTION
Required fields are marked with an asterisk. If you want a fully custom design, enter “Custom” for the template number and describe the direction below.
After submitting, you can reply to our confirmation with any files that are easier to attach directly.
ASPEN • VAIL • ROARING FORK VALLEY